How To: Crochet Arcade Stitch

Learn how to master Arcade Stitch in this tutorial. This stitch creates a lovely shell or fan pattern and... Read more

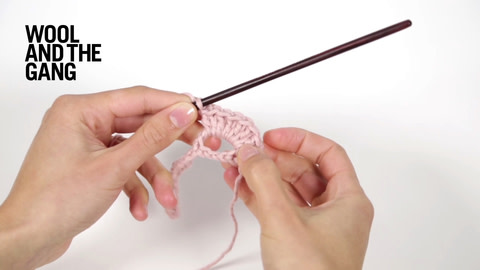
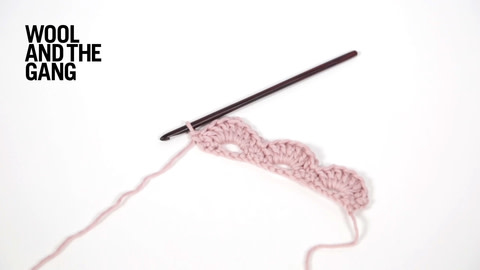
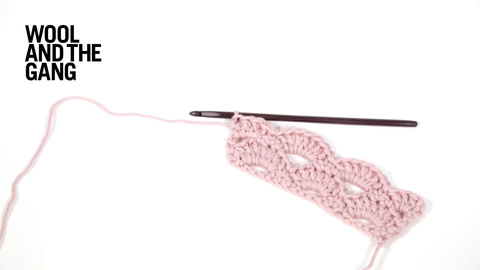
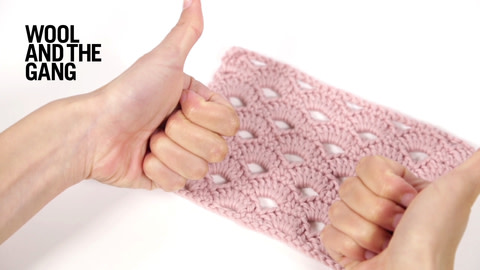
Learn how to master Arcade Stitch in this tutorial. This stitch creates a lovely shell or fan pattern and is perfect for blankets, shawls and more structured garments. This video uses US crochet terms.

Read less

Learn how to master Arcade Stitch in this tutorial. This stitch creates a lovely shell or fan pattern and is perfect for blankets, shawls and more structured garments. This video uses US crochet terms.

See the step by step guide here
Level: Intermediate
Craft: Crochet
Type: Technique

Step By Step

How-to-crochet-arcade-stitch-step-1

Step 1

This how-to will show you how to work the arcade stitch, which creates beautiful arches in your work, and is made up from a combination of single and double crochet stitches, as well as chain spaces. In this how-to, we have used a 5mm rosewood crochet hook, and a ball of Shiny happy Cotton in nude pink. Let’s get started!

How-to-crochet-arcade-stitch-step-2

Step 2

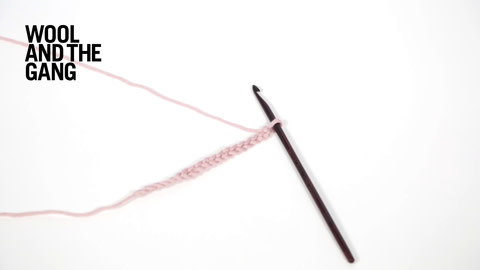
To work in Arcade Stitch, you will need to work a foundation chain of a multiple of 6 chain stitches, plus 1 extra chain stitch. For the Chain Stitch how-to, search for “chain stitch” in the search box at the top right of this page! You can see our chain stitch in the image to the left.

How-to-crochet-arcade-stitch-step-3

Step 3

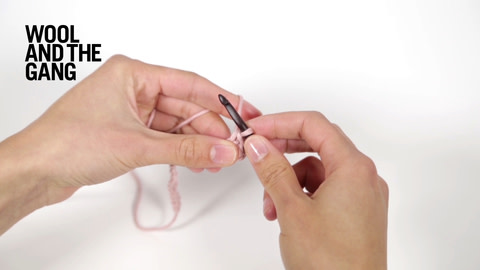
We are now going to work a set-up row. First, make 1 chain stitch. this is your turning chain. You will now work 2 stitches in single crochet. For the how-to of working a single crochet stitch, search “single crochet” in the search box at the top right of this page.

How-to-crochet-arcade-stitch-step-4

Step 4

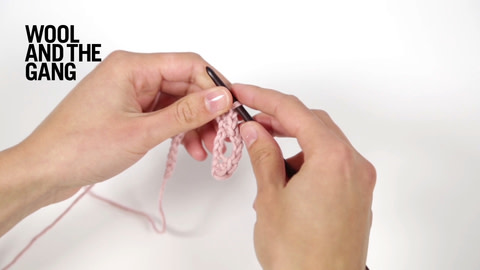
Now make 3 chain stitches, skip the next 3 stitches in your set-up row, and then work single crochet stitches into the next 3 stitches. The image to the left shows what you should have up to this stage.

How-to-crochet-arcade-stitch-step-5

Step 5

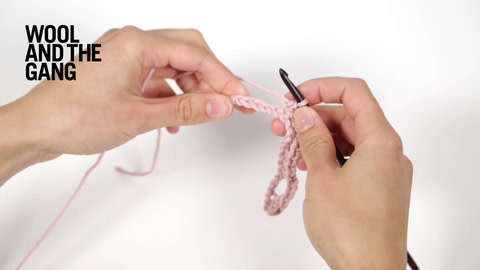
Continue repeating this, making 3 chain stitches, skipping 3 stitches, and then working 3 stitches of single crochet. Repeat this until you have 5 stitches left on your row. The image on the left shows what your work should like up to this point. We have only made a small sample for this how-to, so your work may be longer!

How-to-crochet-arcade-stitch-step-6

Step 6

Make 3 chain stitches, skip the next 3 stitches in your set-up row, and work the final 2 stitches in single crochet. You have now completed your set-up row! It should look like the image above! Remember our sample is only a small example, yours will be a different length depending on your project! :)

How-to-crochet-arcade-stitch-step-7

Step 7

Now that you have completed your set-up row, it’s time to work the pattern rows. This consists of 4 rows that will be repeated to make the arcade stitch. To work Pattern Row 1: make 1 chain stitch (this is your turning chain) Now work 7 stitches of double crochet into the chain space that was made from the set-up row. For the double-crochet stitch how-to, search for “double crochet” in the search box at the top right of this page. Your work should look like the image above!

How-to-crochet-arcade-stitch-step-8

Step 8

Now skip the next stitch, and then work 1 stitch in single crochet. Now you will repeat this sequence, crocheting 7 double crochet stitches into the chain space, skipping one stitch, and then working 1 stitch in single crochet. Do this until there is 1 stitch left. Work 1 stitch in single crochet in this last stitch. Your piece should look similar to the image above!

How-to-crochet-arcade-stitch-step-9

Step 9

Pattern Row 2: Start by making 4 chain stitches. This will act as your turning chain, and also as your first chain space. Skip the first 3 stitches, and then work a single crochet stitch into the next 3 stitches. Then make 3 chain stitches, skip the next 5 stitches, and work single crochet stitches into the next 3 stitches.

How-to-crochet-arcade-stitch-step-10

Step 10

Keep repeating making 3 chain stitches, skipping 5 stitches and working single crochet for 3 stitches until you have 2 stitches left of your row. Make 1 chain stitch, skip a stitch and then work a double crochet stitch into the last stitch. The image on the left shows what Pattern Row 2 should look like!

How-to-crochet-arcade-stitch-step-11

Step 11

We are now going to work Pattern Row 3: Make 3 chain stitches. This is your turning chain. Now work 3 double crochet stitches into the first chain space. Skip the next stitch, then work single crochet into the next stitch. Now work 7 double crochet stitches into the next chain space. Skip the next stitch, and work single crochet into the next stitch. Continue working 7 double crochet stitches into each chain space, skipping one stitch, and then working 1 single crochet stitch, until you have 3 stitches and a chain space left on your row.

How-to-crochet-arcade-stitch-step-12

Step 12

Skip the next stitch, work 1 stitch in single crochet, and you will finish Pattern Row 3 by working 4 stitches in double crochet into the last chain space. Your piece should look like the image above!

How-to-crochet-arcade-stitch-step-13

Step 13

Pattern Row 4: To begin working your fourth and final pattern row of the Arcade Stitch, make one chain stitch. This will be your turning chain. Now work single crochet into the next 2 stitches. Make 3 chain stitches, skip the next 5 stitches and then work the next 3 stitches in single crochet. Keep repeating this sequence of making 3 chain stitches, skipping the next 5 stitches and working the next 3 stitches in single crochet until you have 6 stitches left on your row. Your work should look like the image above.

How-to-crochet-arcade-stitch-step-14

Step 14

Make 3 chain stitches, skip 5 stitches, and work 1 stitch in single crochet into the final stitch of your row. Once you have worked Pattern Row 4 of the Arcade Stitch, you continue to repeat the 4 pattern rows, and you are working in Arcade Stitch! :)