How to Arm Knit a Blanket - DIY Arm Knitting Tutorial

Not all knitting needs needles. This easy and fun knitted blanket tutorial for beginners will show you how to make a blanket - no needles required!

Not all knitting needs needles. This easy and fun knitted blanket tutorial for beginners will show you how to make a blanket - no needles required!

Read less

Not all knitting needs needles. This easy and fun knitted blanket tutorial for beginners will show you how to make a blanket - no needles required!

See the step by step guide here
Level: Beginner
Type: Kit guide
Craft: Knitting

Step by Step

How to Arm Knit a Blanket - DIY Arm Knitting Tutorial - Step 1

Step 1

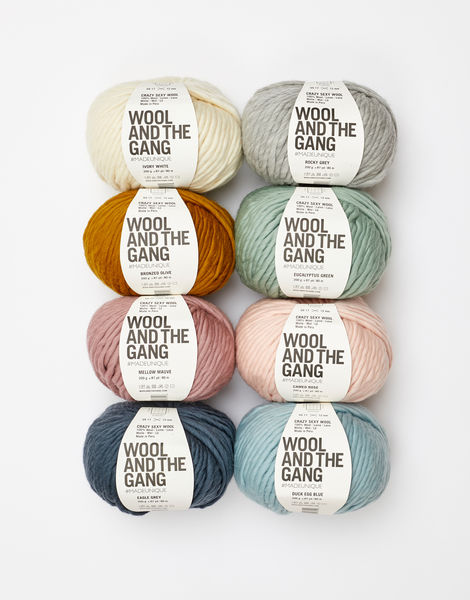
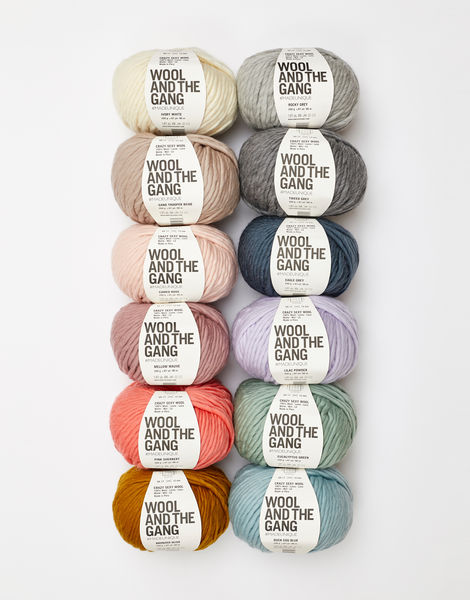
In this how-to we will show you the steps needed to arm knit a blanket. This is a great, fun and fast project, and all you will need is yarn and your arms! We are using our Crazy Sexy Wool in Tweed Grey.

How to Arm Knit a Blanket - DIY Arm Knitting Tutorial - Step 2

Step 2

We are going to work with 3 strands of Crazy Sexy Wool held together. To begin with, we are going to make a slip knot which will be put onto your right wrist. Search in the search box in the top right corner of this page for the “slip knot” how-to!

How to Arm Knit a Blanket - DIY Arm Knitting Tutorial - Step 3

Step 3

We are now going to do the long-tail cast-on. you will need a tail of around 4 metres. The long tail cast-on is the same for if you were doing it onto a knitting needle, but your right arm is used instead of a needle in your right hand! Search in the search box in the top right corner of this page for the “long-tail cast-on” how-to! Don’t worry too much if the balls of yarn roll everywhere! Take you time and untangle as you go! Do the long-tail cast-on until you have 28 stitches on your right arm.

How to Arm Knit a Blanket - DIY Arm Knitting Tutorial - Step 4

Step 4

We are now going to knit into all of the 28 stitches on your right arm. Like you would do with needle knitting, you are going to transfer all the stitches from one side to the other. To do this, you take the end of yarns that are attached to the balls, and lay it across the hand that has all of the stitches.

How to Arm Knit a Blanket - DIY Arm Knitting Tutorial - Step 5

Step 5

You are now going to lift the first stitch on your arm up, over the yarn that is held in your hand, and off the hand. You can let go of it once it is over and off the yarn held in you hand. Remember that each stitch that you have on your arm is made up of 3 strands of yarn.

How to Arm Knit a Blanket - DIY Arm Knitting Tutorial - Step 6

Step 6

You now insert the hand that hasn’t got any stitches into this stitch that is on your hand, going under and up as illustrated in the image to the left here. To remember the way to go, think of it as making your hands touch palm to palm, sliding the hand from the bottom of the palm until it reaches the tip, and both tips are touching. Transfer the stitch over.

How to Arm Knit a Blanket - DIY Arm Knitting Tutorial - Step 7

Step 7

Your arm knitting should look like the image to the left there. Now repeat steps 4-6 with the 27 stitches left on your arm.

How to Arm Knit a Blanket - DIY Arm Knitting Tutorial - Step 8

Step 8

You have now knitted and transferred all the stitches from one side to the other! You will now knit the stitches again, and transfer them back over to the free hand! The work will start to get heavier on your arm. It’s a bit of a workout, but it’ll be worth it!

How to Arm Knit a Blanket - DIY Arm Knitting Tutorial - Step 9

Step 9

The process is the same as before: repeat steps 4-6 for all stitches on you hand, and keep repeating until you are near to the end of your balls of yarn.

How to Arm Knit a Blanket - DIY Arm Knitting Tutorial - Step 10

Step 10

You will join in the 3 new balls of yarn at the beginning of a new row. Take the yarn ends of the new balls, and tie a knot around the old yarn end. Leave a long tail for both the new and old yarn, as you will have to weave it in at the end. Push the knot so it is snug against the arm with the stitches on. You are ready to start going again! Repeat steps 4-6 for each row as before. Keep knitting, attaching the 3 last balls when needed, and knit the last 3 balls until you have roughly 9 metres of yarn left. You will need all this yarn to cast-off

How to Arm Knit a Blanket - DIY Arm Knitting Tutorial - Step 11

Step 11

Here we are about to cast off! Your work should look as big and lovely as this! It depends on the tension of your knitting, but you should have done roughly 25/26 rows. To begin, knit the first 2 stitches as you have been doing in steps 4-6.

How to Arm Knit a Blanket - DIY Arm Knitting Tutorial - Step 12

Step 12

Once you have knitted 2 stitches, take the first stitch knitted, and take it up and over the second stitch knitted, as you would normally do when casting off on knitting needles.

How to Arm Knit a Blanket - DIY Arm Knitting Tutorial - Step 13

Step 13

Keep repeating this: knitting a stitch so that there are two stitches, then taking the first stitch knitted and passing it over and off your arm. When you get to the last 2 stitches, pass the first stitch knitted over the last one, then holding the yarn ends, push these through the last stitch and pull tight to secure the work and stop it unravelling.

How to Arm Knit a Blanket - DIY Arm Knitting Tutorial - Step 14

Step 14

You will now need to weave in any yarn ends. Search in the search box in the top right corner of this page for the “weaving in the ends” how-to! When you are done weaving in the ends, secure each yarn individually with a knot, as the tension is very loose, and we want to prevent any yarn from unravelling. Don’t worry, the blanket is chunky enough that they wont been seen! Trim any long ends once you have made the knots. And there you have it. Enjoy your arm knitted blanket!