
More Videos You May Like

How To: Crochet Arcade Stitch
-
17:44
Learn how to master Arcade Stitch in this tutorial. This stitch creates a...
Learn how to master Arcade Stitch in this tutorial. This stitch creates a...
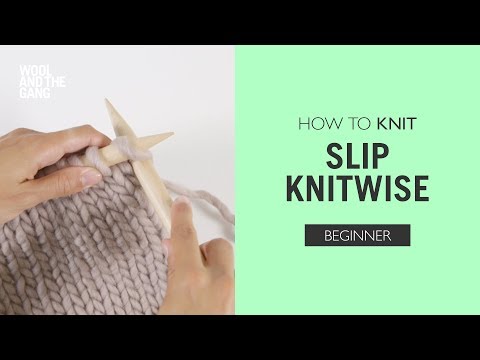
How to: Knit Slip One Knitwise
-
1:37
We're all about quick, easy solutions to help you knit. Learn how to slip...
We're all about quick, easy solutions to help you knit. Learn how to slip...
How to: Knit Picking up Stitches
-
5:28
In this video, you'll learn how to master picking up stitches. This...
In this video, you'll learn how to master picking up stitches. This...
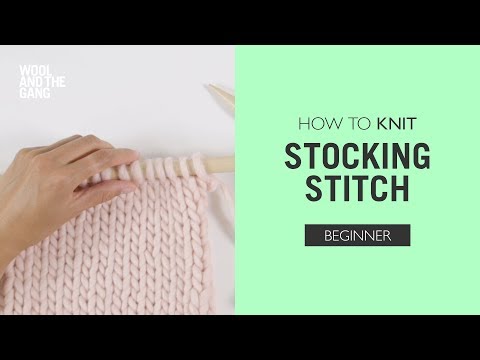
How to: Knit Stocking Stitch
-
3:10
Learn how to make the most iconic stitch and you'll be ready for any...
Learn how to make the most iconic stitch and you'll be ready for any...
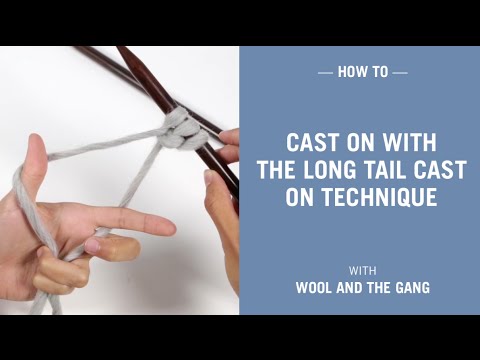
How to: Cast on with the long-tail cast on technique
-
3:12
Learn how to cast on with our long-tail tutorial. This classic cast on...
Learn how to cast on with our long-tail tutorial. This classic cast on...
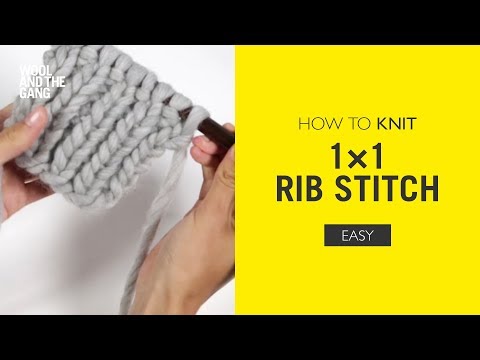
How To: Knit 1x1 Rib
-
3:13
Learn how to do a 1x1 rib stitch by following our step-by-step video...
Learn how to do a 1x1 rib stitch by following our step-by-step video...
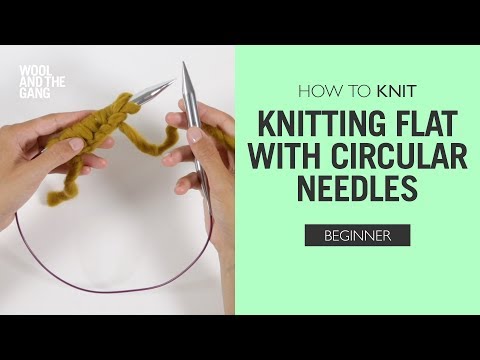
How to: Knit flat with circular needles
-
3:08
Does your project call for circular needles, or are you just partial to...
Does your project call for circular needles, or are you just partial to...

How to: Knit Horizontal Invisible Seam In Rib Stitch
-
2:42
Learn how to create invisble joins when seaming rib stitch together. This...
Learn how to create invisble joins when seaming rib stitch together. This...
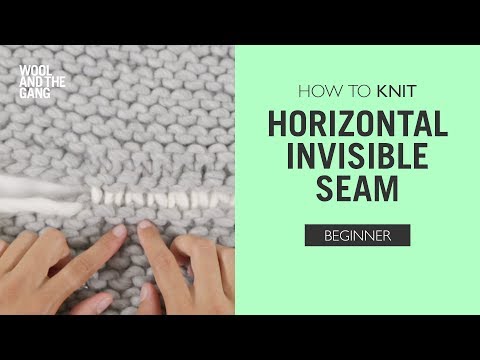
How to: Knit Horizontal Invisible Seam
-
7:23
Ready to sew your finished pieces together? Learn how to use the horizontal...
Ready to sew your finished pieces together? Learn how to use the horizontal...
How To Knit: I-Cord Edging
Learn how to master the i-cord edging technique, to add i-cord trims around finished knitted pieces.
Learn how to master the i-cord edging technique, to add i-cord trims around finished knitted pieces.
Read lessLearn how to master the i-cord edging technique, to add i-cord trims around finished knitted pieces.
See the step by step guide here
Level:
Advanced
Craft:
Knitting
Type:
Technique
More Videos You May Like
![]()
![]()
-
More Videos You May Like
How To: Crochet Arcade Stitch - 17:44
Learn how to master Arcade Stitch in this tutorial. This stitch creates a...
How to: Knit Slip One Knitwise - 1:37
We're all about quick, easy solutions to help you knit. Learn how to slip...
How to: Knit Picking up Stitches - 5:28
In this video, you'll learn how to master picking up stitches. This...
How to: Knit Stocking Stitch - 3:10
Learn how to make the most iconic stitch and you'll be ready for any...
How to: Cast on with the long-tail cast on technique - 3:12
Learn how to cast on with our long-tail tutorial. This classic cast on...
How To: Knit 1x1 Rib - 3:13
Learn how to do a 1x1 rib stitch by following our step-by-step video...
How to: Knit flat with circular needles - 3:08
Does your project call for circular needles, or are you just partial to...
How to: Knit Horizontal Invisible Seam In Rib Stitch - 2:42
Learn how to create invisble joins when seaming rib stitch together. This...
How to: Knit Horizontal Invisible Seam - 7:23
Ready to sew your finished pieces together? Learn how to use the horizontal...
Featured in this video


Step by Step

Step 1
This I-cord edging is attached to your knitting as you go.

Step 2
First, you will need to make a 3 stitch i-cord, to make your i-cord: Simply knit 3 stitches, then slide these 3 stitches to the opposite end of the circular needle, and knit them again.

Step 3
Now, we’re going to join the i-cord to a knitted piece, start with the stitches on the left needle.

Step 4
Knit 2 stitches, then slip the next stitch purl-wise on to the right needle. Make a yarn over by bringing the yarn to the front and then taking it to the back over the right needle.

Step 5
Without dropping the yarn over, pick up and knit the edge stitch of your knitted piece. You now have 5 stitches on your right needle.

Step 6
Using the tip of the left needle, pick up the slip stitch and the yarn over and lift them up and over the picked up stitch, you now have 3 loops on your needle.

Step 7
Pull on the circular knitting needle to slide the stitches back to the left knitting needle of your circular needles.

Step 8
Repeat steps 4 to 7 until you reach the end of your knitted piece.

Step 9
Continue working a 3 stitch i-cord to finish off your piece, so as before knit the 3 stitches, then pull the needle so the stitches are on the left needle of your circular needle then knit them again.

Step 10
Continue your i-cord to the desired length.

Step 11
Finish your i-coord with a double decrease; slip the next stitch, then knit the next 2 stitches together, pass the slipped stitch over the decrease, then cut the yarn and pull on the stitch until the end pops through to secure the i-cord.