A built-in handle makes for a really professional look - but it's actually really easy to make. Find out how.
In this video we will show you how to work handles into your crochet. This easy technique is great for beginner homeware projects such as baskets and bags. The instructions used in this video are from the Brady Basket.

Learning how to crochet handles opens up tonnes of possibilities for fun bag and homeware projects. Definitely a good one to know.
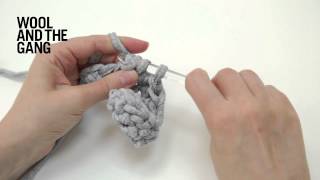
To start crocheting handles, work until you get to the place where you want the handle to start.

Create a 'chain space' by working eight chain stitches. Note that this will vary depending on what you want your handle to look like.

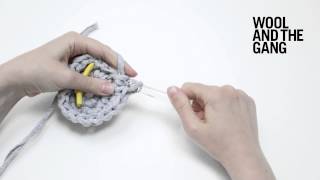
Skip the next eight stitches of your row. Continue working your stitches from the ninth stitch onwards. You'll now see the foundation of your handle starting to take shape (great work!).

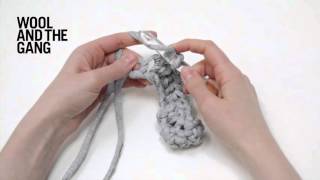
On your next row, work until you arrive at the chain space section. Insert the hook under the chain and work 13 stitches in single crochet around it.

You have now covered the chain with stitches and it should look something like the picture. Continue working according to your pattern. You've now got yourself a crocheted handle! Well done!
If your order amount is $40.00 or more, we'll ship for free with standard shipping. View full price shipping costs
You may incur customs charges on orders over $200, if you are asked to pay customs then simply email [email protected] with your receipt and we'll refund you the charge back.