We all need ‘em, and chances are, you carry yours around with you everywhere. So today, let’s make our water bottles a little cuter with Tina Tape Yarn! We’re here to show you how to crochet a water bottle holder using a few simple techniques like single crochet and double crochet (to name a few). Let’s get into it!
THE TOOLS
1 x Tina Tape Yarn
1 x 5mm crochet hook

TENSION TIME
Tension single crochet:
-
10 cm/4” = 18 stitches
-
10 cm/4” = 22 rows
Double crochet
-
10 cm/4” =17 stitches
-
10 cm/4” = 12 rows
1.
Start by creating a magic loop and working 6 stitches in single crochet around it. Join the round by making a slip stitch into the first stitch of the round.

2.
Increase round: Start your round by making 1 chain stitch, then place your yarn marker. Work 2 single crochet stitches into each of the stitches of your round. (12 stitches.)

3.
Increase round: Place your yarn marker to show the start of the round, do this at the beginning of each of your rounds. *Work 2 single crochet stitches into the next stitch, then work 1 single crochet stitch into the next stitch.* Repeat the section inside the stars until you reach the end of the round. (18 stitches.)

4.
Increase round: Work 1 single crochet stitch into the first stitch *Work 2 single crochet stitches into the next stitch, then work 1 single crochet stitch into each of the next 2 stitches.* Repeat the section inside the stars until you have 2 stitches remaining. Work 2 single crochet stitches into the next stitch, then work 1 single crochet stitch into the last stitch. (24 stitches.)

5.
Increase round: *Work 2 single crochet stitches into the next stitch, then work 1 single crochet stitch into each of the next 3 stitches.* (30 stitches.)

6.
Increase round: Work 1 single crochet stitch into each of the first 2 stitches. *Work 2 single crochet stitches into the next stitch, then work 1 single crochet stitch into each of the next 4 stitches.* Repeat the section inside the stars until you have 3 stitches remaining. Work 2 single crochet stitches into the next stitch, then work 1 single crochet stitch into each of the last 2 stitches. (36 stitches.)

7.
Work 1 double crochet through the back of the stitch of each stitch of the round. Your base of the holder is now complete and you will continue to work upwards, forming the body of your water bottle holder.

8.
Place your yarn marker then work 1 round in double crochet.

9.
Repeat step 8 until your holder measures 13cm/5.1” from your bottom edge (approx. 14 rounds).

10.
Work 1 round in single crochet. Make a slip stitch to join the round.

11.
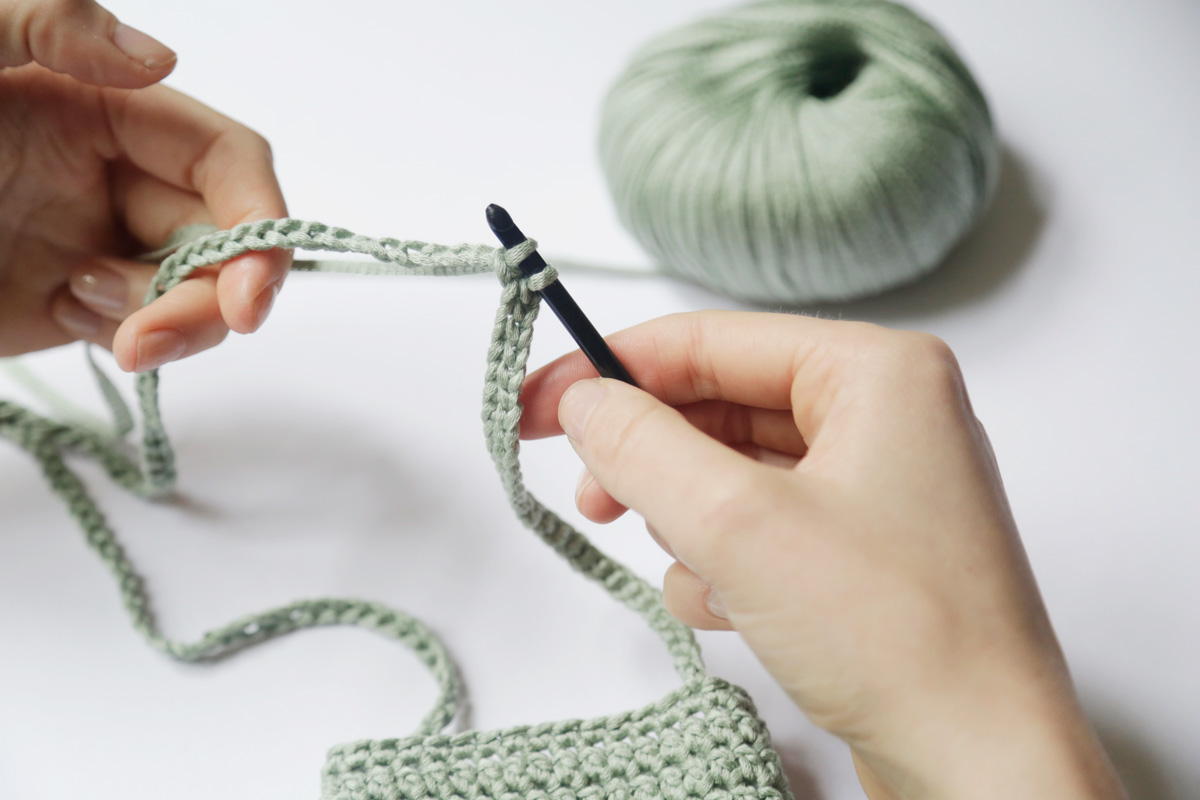
Chain 216 stitches, this will create the foundation of your strap. Now skip 17 stitches and make 1 single crochet into the next stitch, joining the other side of the strap to your holder.


12.
Chain 1 stitch, turn back onto your chain stitches, making sure the chains are not twisted. Make 1 slip stitch into every chain stitch, then single crochet into the same stitch you started with. Secure yarn.
Now all that’s left to do is get your water bottle in your new crochet holder, and wait for those compliments to start rolling in. Did you give our DIY a go? Let us know how it went in the comments below ![]()
